Quickstart Guide
Get from zero to full cloud cost visibility in under 10 minutes. This guide walks you through connecting your first cloud account and exploring your cost data.
Prerequisites
- A running CLARITY instance (provided by your administrator)
- Cloud credentials with read-only access to billing and resource APIs
- A modern web browser (Chrome, Firefox, Safari, or Edge)
Step 1: Log In
Navigate to your CLARITY instance URL and sign in with the credentials provided during setup.
TIP
If this is a fresh installation, your administrator will have set up an initial admin account during deployment.
Step 2: Add Your First Cloud Account
- Navigate to the Organizations page in the sidebar
- Click the Add Account button in the top-right corner
- Select your cloud provider — AWS, Azure, or GCP
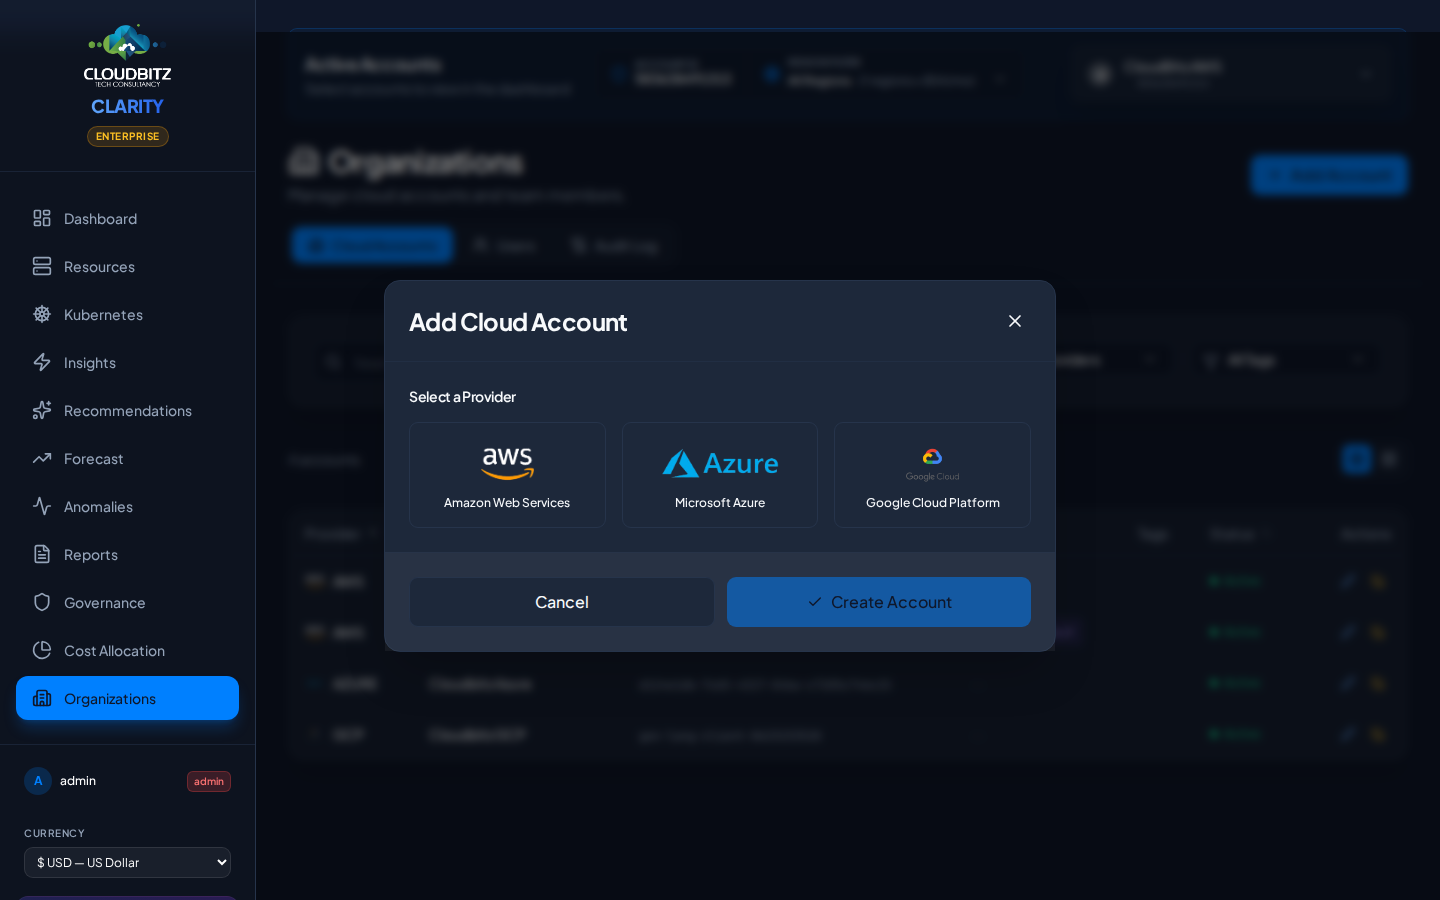
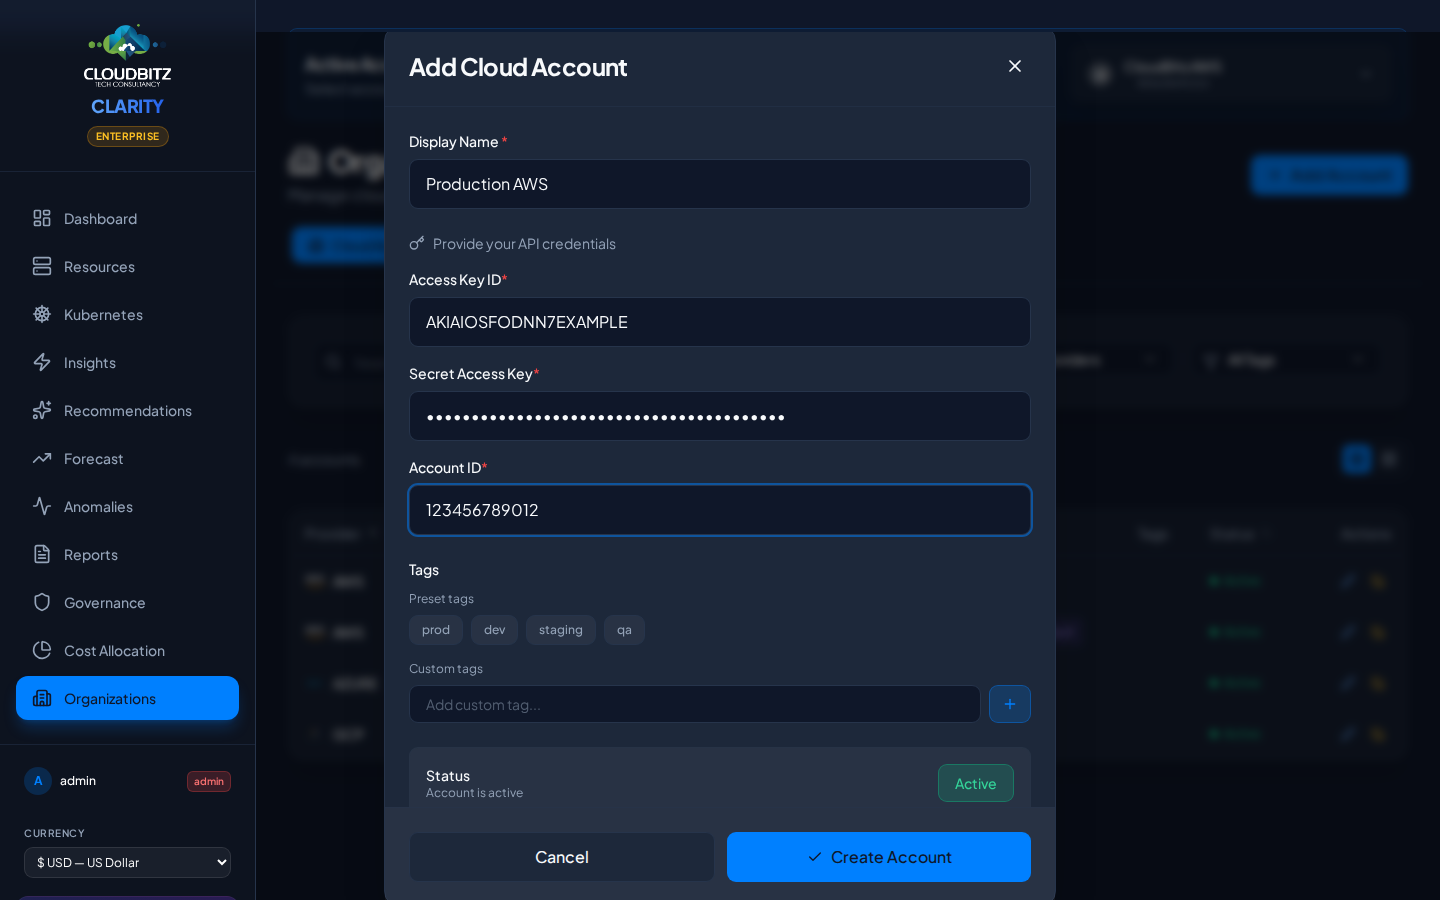
- Fill in a Display Name and your provider credentials
AWS Credentials
| Field | Description |
|---|---|
| Display Name | A friendly label (e.g., "Production AWS") |
| Access Key ID | Your IAM user access key (starts with AKIA...) |
| Secret Access Key | Your IAM user secret key |
| Account ID | Your 12-digit AWS account ID |
Azure Credentials
| Field | Description |
|---|---|
| Display Name | A friendly label (e.g., "Production Azure") |
| Subscription ID | Your Azure subscription ID |
| Tenant ID | Your Azure AD tenant ID |
| Client ID | Service Principal application (client) ID |
| Client Secret | Service Principal client secret |
GCP Credentials
| Field | Description |
|---|---|
| Display Name | A friendly label (e.g., "Production GCP") |
| Project ID | Your GCP project ID |
| Service Account Email | The service account email address |
| Private Key | The private key from your JSON key file |
- Optionally add tags (e.g.,
prod,dev) to organize your accounts - Click Create Account to store and validate your credentials
WARNING
Ensure your cloud credentials have read-only access. CLARITY never modifies your cloud resources. See the Cloud Setup guides for minimum required permissions per provider.
TIP
All credentials are encrypted at rest using AES-256 encryption before being stored. They are never logged or exposed through the interface.
Step 3: Wait for Initial Sync
Once your credentials are validated, CLARITY automatically begins syncing your cloud data. The initial sync typically takes 2-5 minutes depending on the size of your environment.
You can monitor sync progress in the sidebar — a sync indicator will appear while data collection is in progress.
During the sync, CLARITY will:
- Pull billing data from your cloud provider's cost management APIs
- Discover all active resources across regions
- Collect performance metrics for optimization analysis
- Fetch existing commitment details (Reserved Instances, Savings Plans, CUDs)
- Query for provider-native recommendations
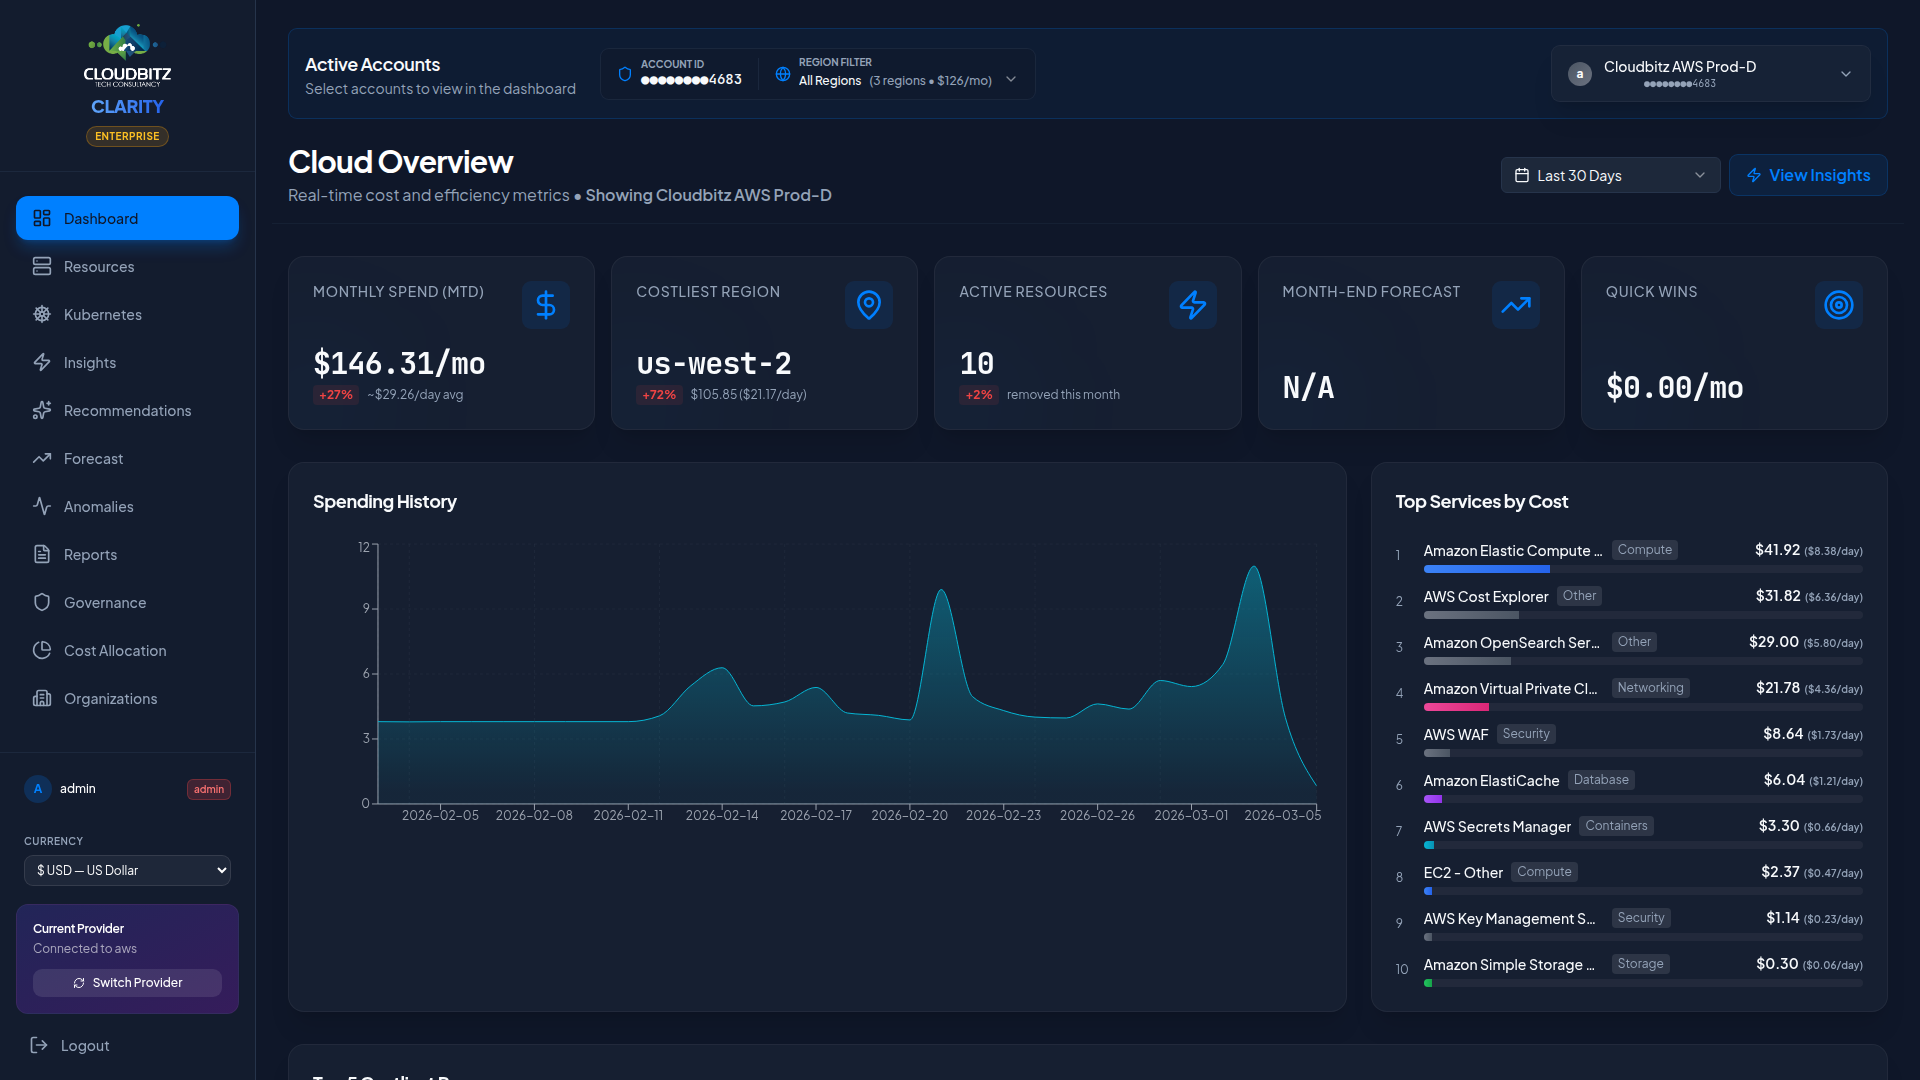
Step 4: Explore Your Dashboard
Once the sync completes, your Dashboard will populate with:
- Total spend across all connected providers
- Month-over-month cost comparison
- Spend by provider breakdown
- Top services by cost
- Regional distribution of spend
- Cost forecast for the current billing period
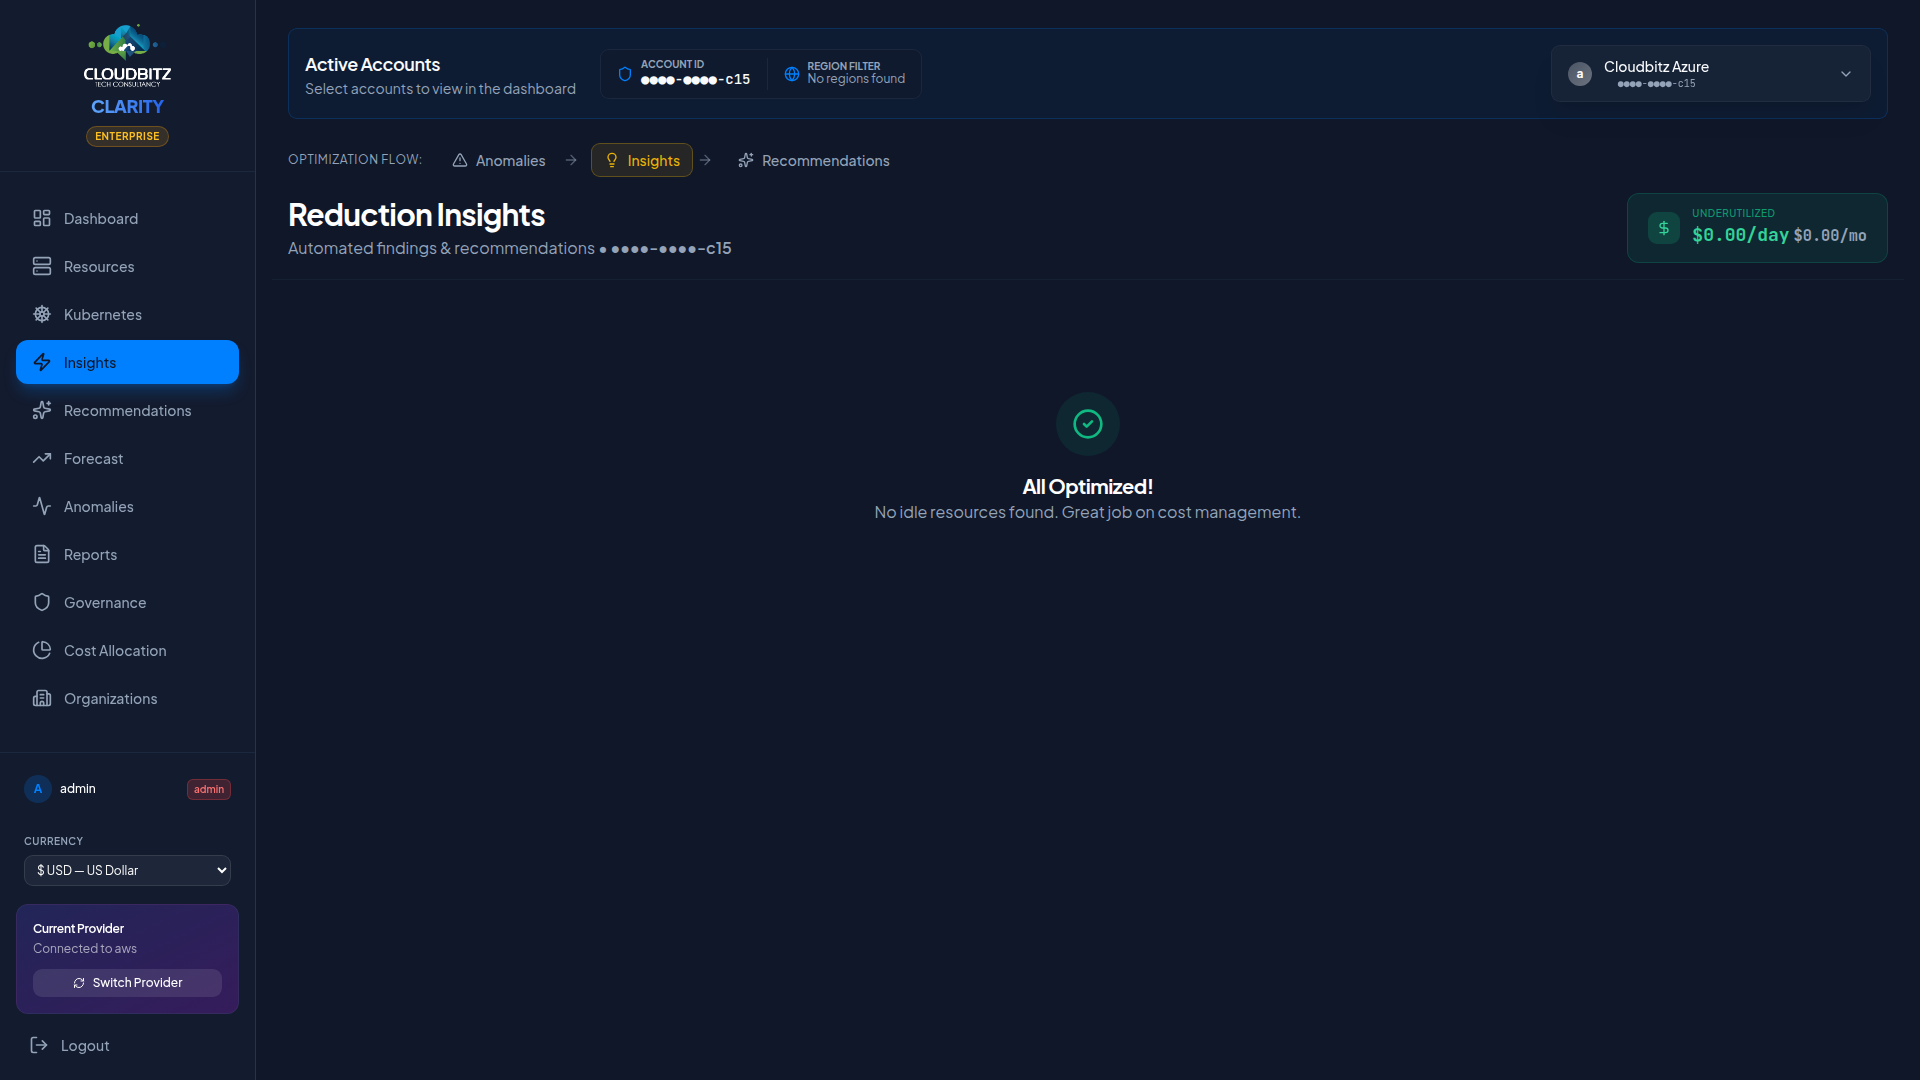
Step 5: Review Recommendations
Navigate to the Insights page to see optimization recommendations:
- Idle resources — resources with near-zero utilization that can be terminated
- Underutilized resources — resources that can be downsized to a smaller instance type
- Cost optimization — provider-native recommendations for savings
TIP
If AI analysis is enabled on your instance, every recommendation is automatically validated by AI before being surfaced. You can also click Explain on any insight for a detailed, context-aware explanation.
What's Next?
Now that you have your first cloud account connected, explore the full feature set:
- Resources — Browse your complete cloud resource inventory with cost attribution
- Anomaly Detection — Set up alerts for unexpected cost spikes
- Forecasting — Review projected spend for budget planning
- Cost Allocation — Configure chargeback and showback for your teams
- Commitments — Review RI, Savings Plan, and CUD recommendations
- Reports — Generate executive reports for stakeholders
Need to connect additional providers? Repeat Step 2 for each cloud account. CLARITY supports multiple accounts per provider.